


Select the pose
Clip Studio Paint comes with preconfigured poses for 3D character materials and 3D drawing figures, which you can just select to assign a pose to the 3D character material or 3D drawing figure.
|
|
You can also assign a pose to a 3D character material or 3D drawing figure by dragging and dropping a pose file (extension: PEP) created in POSE STUDIO. |
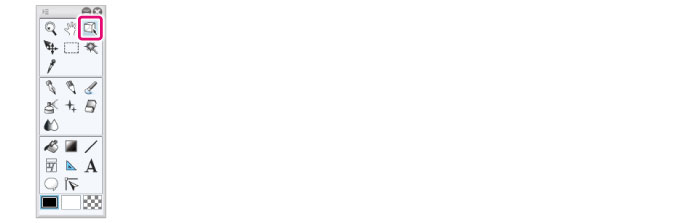
1Select the tool
On the Tool palette, select the [Operation] tool.
2Select the sub tool
Open the Sub Tool palette and select [Object].
3Select the 3D material
Click the 3D character material or 3D drawing figure to edit.
4Select the pose
Select a pose from the Material palette.
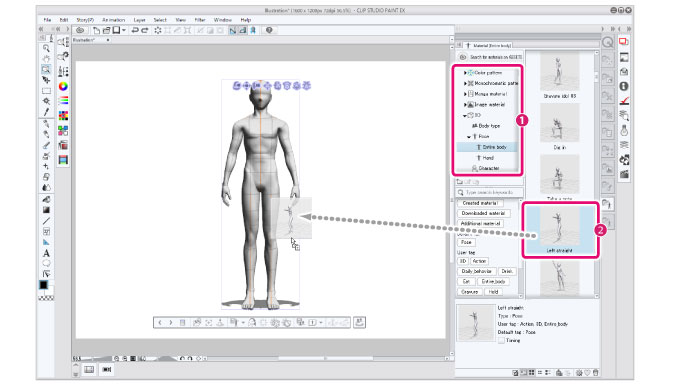
(1) On the [Tree view], select [3D] > [Pose] > [Entire body].
(2) Select a pose and drag and drop it to the canvas.

(3) The selected pose is reflected in the 3D character material or 3D drawing figure.
|
|
·If you drag and drop a pose to the canvas when there are no 3D materials on the canvas, a 3D drawing figure with the selected pose displays. If you drag and drop multiple pose materials to the canvas, 3D drawing figures with the selected poses are displayed. ·You can select poses from the Tool Property palette as well. Click the Tool Property palette’s [Use 3D pose material] and select a pose from the [Use 3D pose material] dialog box then, select a 3D character or a 3D drawing figure and it’s pose will be reflected on the character. ·In EX, you can select a pose and drag and drop it into the [All sides view] to apply the selected pose. |