Creating a Saturated Line
To create a saturated line, proceed as follows.
1Select the tool
On the Tool palette, select the [Figure] tool.

2Select the sub tool
Saturated lines can be drawn using the following sub tools:
·[Saturated line] sub tool of the [Figure] tool
·[Flash] sub tool of the [Balloon] tool
|
|
The initial configuration of the sub tools has been changed from Ver.1.6.2. For those who are used to a previous version of Clip Studio Paint, this operation is now performed by selecting the [Text] tool and then selecting [Flash] on the Sub Tool palette. |
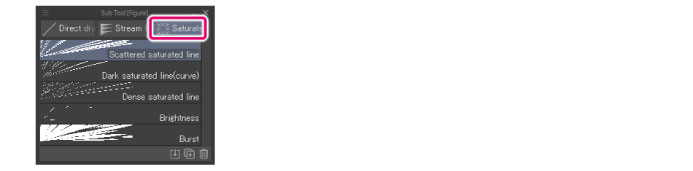
In this example, the sub tool group is switched to [Saturated line] on the Sub Tool palette to select the sub tool.
3Set line color
On a color palette, configure a color for the saturated line.
|
|
Turning on [Saturated line] > [Fill center] on the Sub Tool Detail palette allows you to fill the area enclosed by the reference line. For details on settings, see "Saturated Line" in the Clip Studio Paint Tool Setting Guide. |
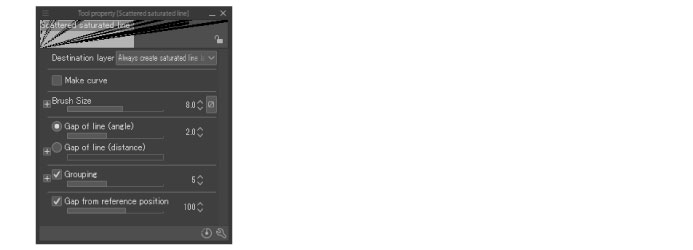
4Configure the tool property
On the Tool Property palette, adjust the settings for creating saturated lines.
|
|
On the Tool Property palette, you can configure the thickness, length and spacing of each of the lines that comprise the saturated line. For details on setting, see Saturated Line, Drawing Position, and Drawing Interval in the Clip Studio Paint Tool Setting Guide. |
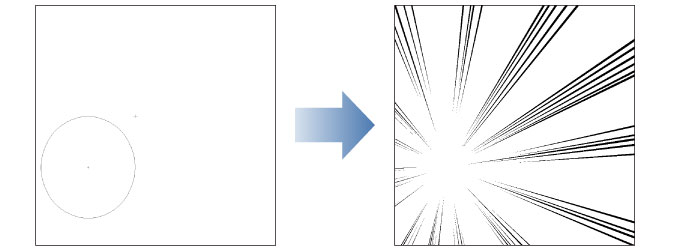
5Draw the saturated line
Draw a [Reference line] in the position where you want to draw the saturated line. Committing the [Reference line] draws the saturated line as configured.
|
|
How to draw the [Reference line] varies depending on the selected sub tool. |