


Importing 3D Materials
This section explains how to import 3D files in the character setup screen.
Full-body Character Data
This section explains how to import a complete character file including body, face and hair.
The following file formats can be imported.
|
File formats that can be imported |
CLIP STUDIO MODELER file format (extension: csmf), fbx, 6kt, 6kh, lwo, obj |
|
|
If you are creating a 3D model using Autodesk Maya, you can set default bones at this time for greater convenience. Default bones are the bones set for movable models. Setting default bones makes it possible to create 3D characters that will operate correctly with CLIP STUDIO products. For information on the specifications of default bones, see "Specifications of Default Bones (Guide to Creating Movable Models)". |
1Select the file to be imported
Files are imported in the [Character configuration] palette.

(1) Select [Body] from the group on the [Character configuration] palette.
(2) Click [Add from file].
(3) When the dialog box for opening a file is displayed, select the file to be imported and click [Open].
2The file is imported
The selected file is imported in CLIP STUDIO MODELER.
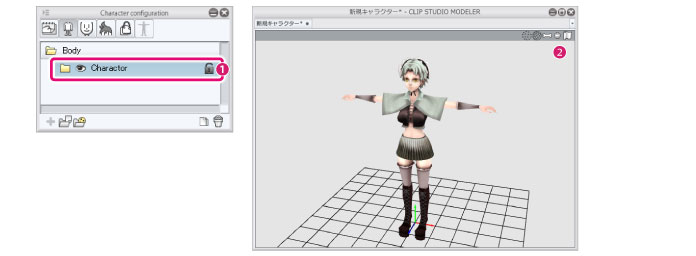
(1) A [Body parts folder] is displayed for the imported file under [Body].
(2) The imported body is displayed in the [Document] window.
3Set the character as a complete character
Set the character you have imported as a complete character.
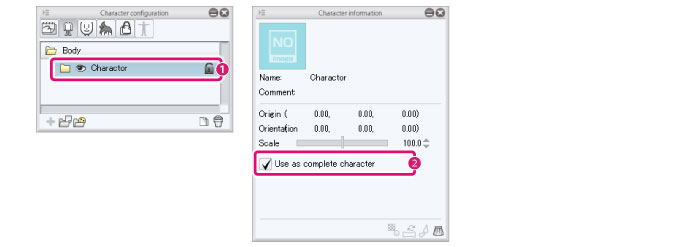
(1) Select the [Body parts folder] for the imported file on the [Character configuration] palette.
(2) Turn on [Use as complete character] in the [Character information] palette.
|
|
When a character is set as a full character, duplicate parts such as [Face] and [Hair] can be hidden. |