Inking the Background
Ink the background to complete the main lines of the background. Draw the background of Frame 1 using [Perspective ruler].
1Select [Layer] menu → [Ruler - Frame] → [Create Perspective Ruler].
Configure the perspective ruler settings in the [Create Perspective Ruler] dialog box. [1 point perspective] is selected for this example.

2The perspective ruler is created.
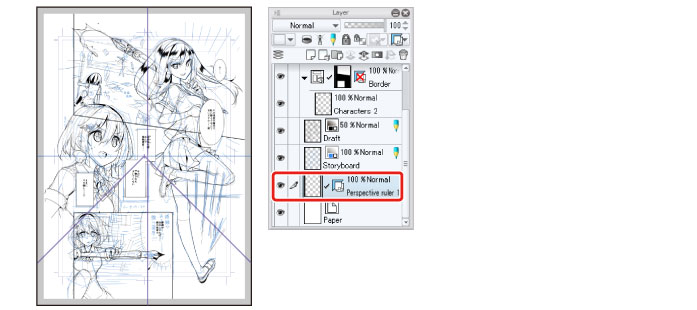
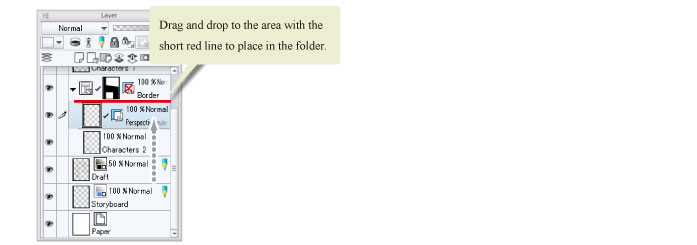
3On the [Layer] palette, change the stacking order of the layers by dragging the "Perspective ruler 1" layer into the "Border" folder.
|
|
With the iPad, move any layers by hovering the mouse cursor over the grip on the right side of the layer and move it. For details, see "Drawing the Fine Details" → "Drawing the Eyes (Combine Layers)" → "Drawing the White of Eye" → "Tips: When unable to move layers on the iPad." . |
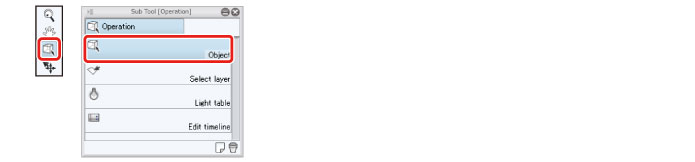
4Adjust the vanishing point position of the perspective ruler you have created. Select the [Operation] tool → [Object].
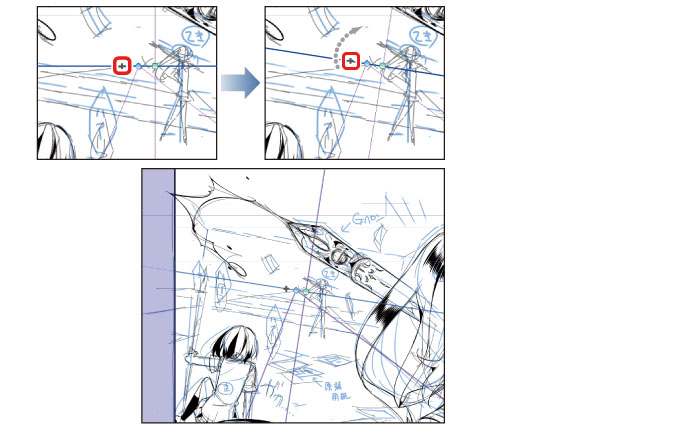
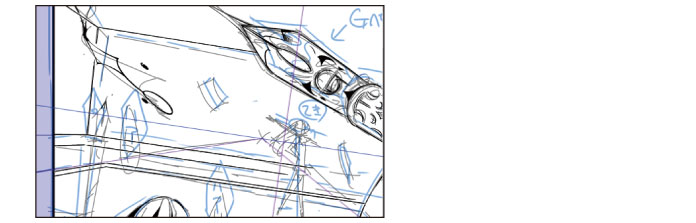
5As the eye level is tilted in the background of Frame 1, tilt the eye level of the perspective ruler based on the draft.
Select the handle for moving the eye level on the perspective ruler you have created and move the eye level so that it matches the horizon line drawn in the draft of Frame 1.
Drag the handle for changing the direction of the eye level so that it matches the angle of the horizon line.
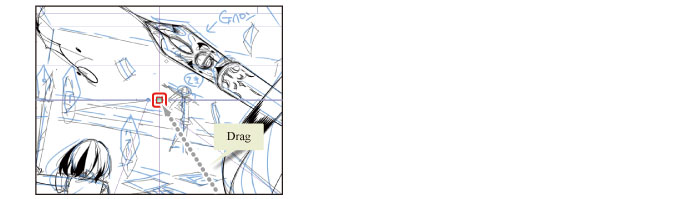
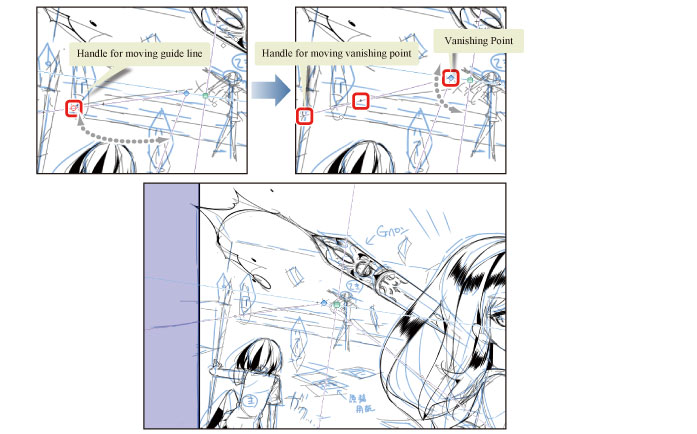
6Drag the guide line to adjust the vanishing point position according to the draft.
Adjust the vanishing point so that it is near where the character is standing.
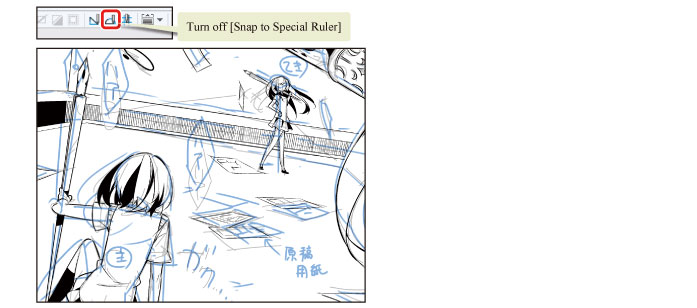
7Check that the [Snap to Special Ruler] icon on the upper command bar is turned on.
This allows you to snap the line to the perspective ruler.

|
|
[Snap to Special Ruler] is usually turned on automatically when a perspective ruler is created. Turn it off if you do not want to snap to the ruler. |
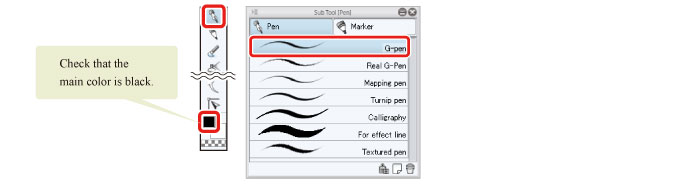
8Draw the background using the same [G-pen] as when drawing the characters. Check that black is set as the main color on the [Tool] palette.
9Draw the background while snapped to the ruler.
10When you have finished drawing lines according to the perspective ruler, turn off [Snap to Special Ruler] on the command bar and add the character at the back and the small items such as the manga drafts scattered around the room.
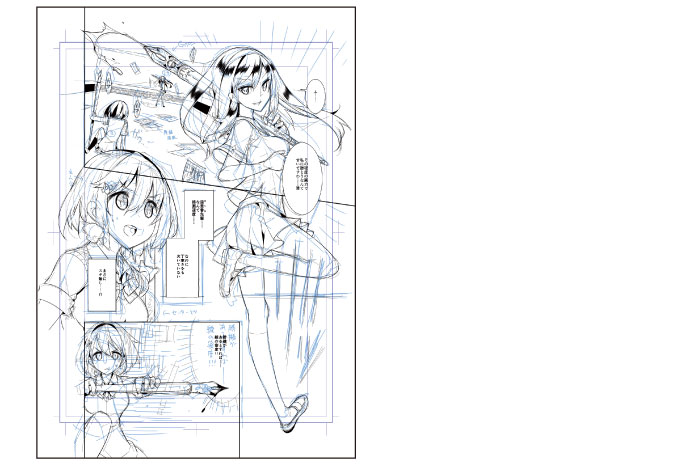
The main lines of the background are complete.
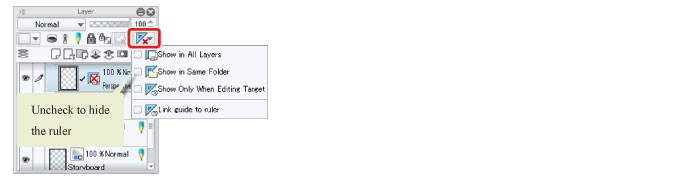
Tips: Hiding the Perspective Ruler
The [Perspective ruler] is still shown after you finish drawing the background. To hide it, select the [Layer] palette → [Set showing area of ruler] and uncheck the check box.