


Creating a Balloon
The following describes the procedure to create a balloon and place text in it.
Drawing a Balloon
To draw a balloon by configuring the line width, color and the like, proceed as follows.
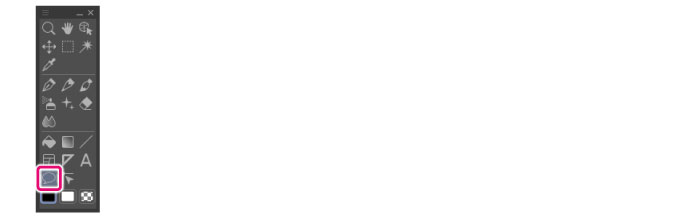
1Select the tool
On the Tool palette, select the [Balloon] tool.
|
|
The initial configuration of the sub tools has been changed from Ver.1.6.2. For those who are used to a previous version of Clip Studio Paint, this operation is now performed by selecting the [Text] tool. |
2Select the sub tool
Open the Sub Tool palette to select a sub tool for drawing the balloon. In this example, [Ellipse balloon] is selected.
3Configure the tool property
On the Tool Property palette, configure the shape, line width and the like for the balloon.
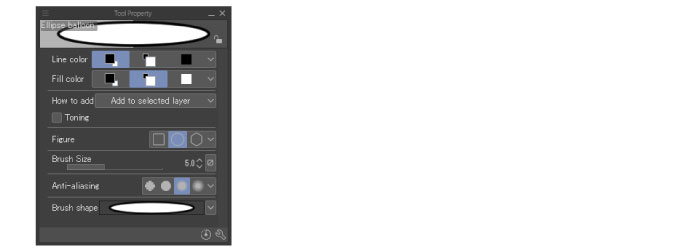
4Configure the balloon's line and color
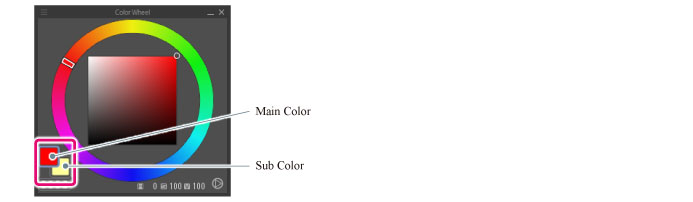
Configure the sub drawing color as the balloon's color. Configure the main drawing color as the balloon's line color.
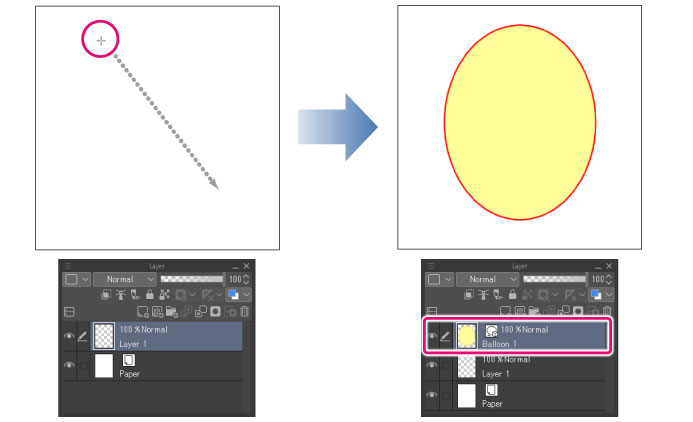
5Drawing a balloon
Drag on the canvas. The balloon is drawn and a balloon layer is created at the same time.
|
|
·To add a balloon to an exising balloon layer, select the layer and set [How to add] in the Tool Property palette to [Add to selected layer]. In this case, a new layer will not be added. You can also overlap balloon to create a series of linked balloons. ·When the Sub Tool Detail palette > [Create balloon] category > [Combine with the text in the drawing area] setting is turned on, drawing a balloon over text will place both text and balloon on the same layer regardless of the selected layer and other Sub Tool Detail palette settings. Moving the balloon with the [Object] sub tool also moves the text along with it. |