


Attaching a Tail to a Balloon
To add a tail to a balloon, proceed as follows.
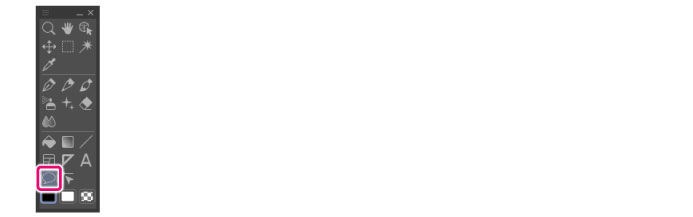
1Select the tool
On the Tool palette, select the [Balloon] tool.
|
|
The initial configuration of the sub tools has been changed from Ver.1.6.2. For those who are used to a previous version of Clip Studio Paint, this operation is now performed by selecting the [Text] tool. |
2Select the sub tool
Open the Sub Tool palette to select a tail sub tool. In this example, [Balloon tail] is selected to create a normal balloon tail.
3Configure the tool property
Configure the method for drawing the tail, its width and the like.
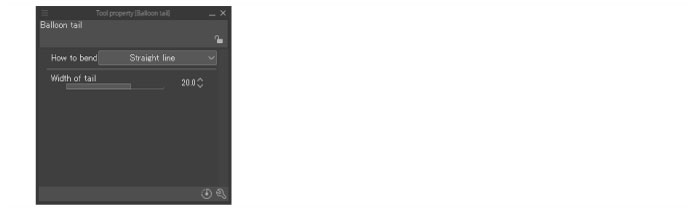
(1) In [How to bend], set how to draw the balloon tail.
(2) In [Width of tail], configure the tail width at its base.
4Draw the tail
How to draw the tail varies depending on the [How to bend] setting.
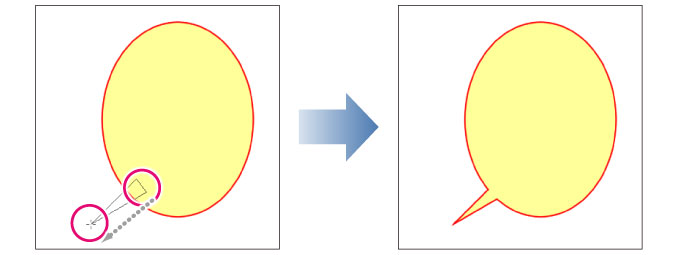
Straight line
Drag over the canvas from the starting point to the end point.
Polyline
Draw as described below, from the starting point to the end point.
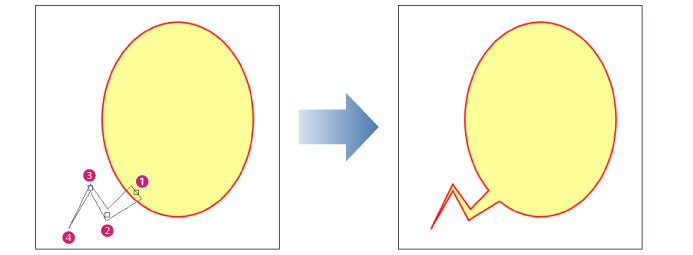
Click the canvas at points (1) to (3) to specify multiple points.
(4) Double clicking at the end point creates a polyline connecting the points specified above.
Spline
Draw as described below, from the starting point to the end point.
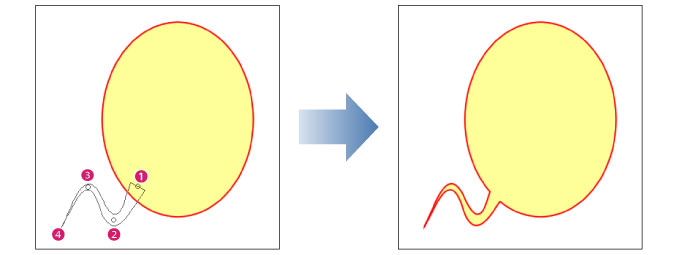
Click the canvas at points (1) to (3) to specify multiple points.
(4) Double clicking at the end point creates a curved tail connecting the points specified above.