


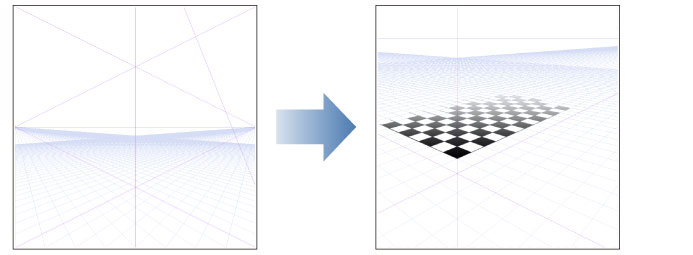
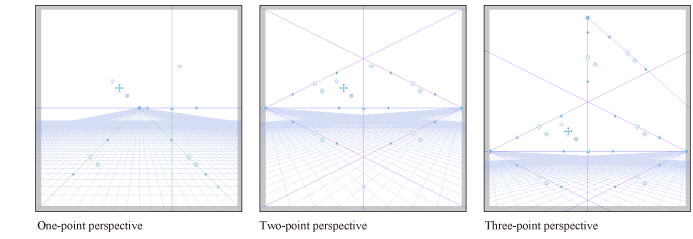
Displaying and Snapping to Grid
You can display equally-spaced grids from the vanishing point and snap to those grids for drawing.
|
|
You can use this feature to draw at regular intervals in a 3D space created using a perspective ruler. |
Drawing into a Grid
To draw snapped to a grid, proceed as follows.
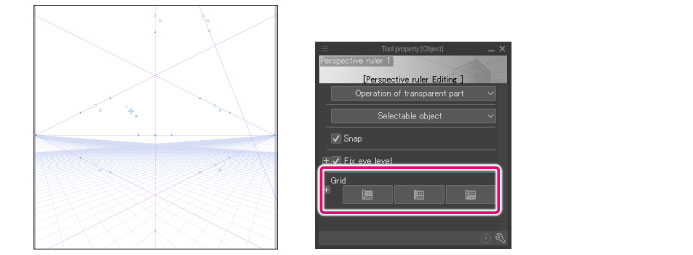
1Show the grid
With the perspective ruler selected, click the [Grid] button on the Tool Property palette. The [Grid] displays.
|
|
For details on [Grid], see "Grid-related Settings on the Tool Property". |
2Adjust the position of the grid
Drag the [Grid origin] of the perspective ruler to adjust its position.

3Enable snap
Open the [View] menu to turn on (place check mark to) [Snap to Special Ruler] and [Snap to Grid].
|
|
If only [Snap to Grid] is turned on, you will not be able to snap in an area without grid. |
4Draw in the grid
When you draw on the canvas, the drawing will snap to the grid.

Grid-related Settings on the Tool Property
When perspective ruler is selected with the [Object] sub tool, using the Tool Property palette allows you to show equally-spaced grids (auxiliary lines) from the vanishing point. Grid-related settings are as follows.
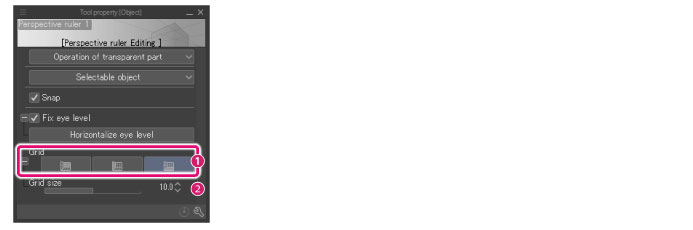
(1) Grid
Displays equally-spaced (auxiliary lines) from the vanishing point. The grid displayed by each button is different.
|
|
·Grids may not display depending on where the vanishing point has been placed. ·To snap to the grid, turn on snap by selecting [Snap to Special Ruler] and [Snap to Grid] from the [View] menu. |
XY plane
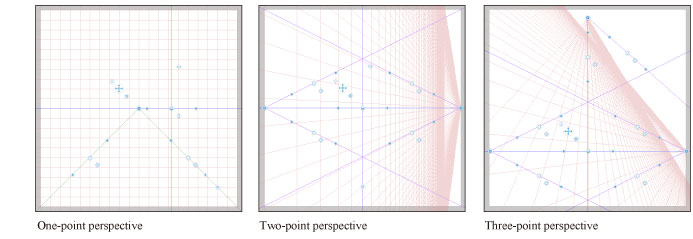
YZ plane

XZ Plane
(2) Grid size
Specifies the size (distance) between grid lines. The larger the size, the wider is the area where the grid displays.