


Tonal correction
This layer allows you to adjust the brightness, hue, saturation, luminosity, and gradient of the selected layer.
|
|
With the [Edit] menu > [Tonal Correction] command, you can apply the effect only to the selected layer. To learn how to apply an effect to multiple layers, see "New Correction Layer [PRO/EX]". |
Types of correction
Clip Studio Paint offers the following types of tonal correction.
|
Brightness/Contrast |
Adjusts the brightness and contrast of the selected layer. |
|
Hue/Saturation/Luminosity |
Changes the color of the selected layer by adjusting the three components (hue, saturation and luminosity) of the HSV color model. |
|
Posterization [PRO/EX] |
Converts an image into the specified gradient. |
|
Reverse gradient [PRO/EX] |
Inverts the colors in an image. |
|
Level Correction |
Adjusts the contrast of an image using the histogram. |
|
Tone curve [PRO/EX] |
Adjusts the contrast of an image using the tone curve. |
|
Color balance [PRO/EX] |
Adjusts the tone of an image by configuring the balance of each RGB color. |
|
Binarization [PRO/EX] |
Converts the selected layer into a black and white duotone layer. |
|
Gradient map [PRO/EX] |
Each shade in the image is replaced with colors of the selected gradient. |
Applying a Tonal Correction
This section describes how to apply tonal corrections, using the example of Level Correction.
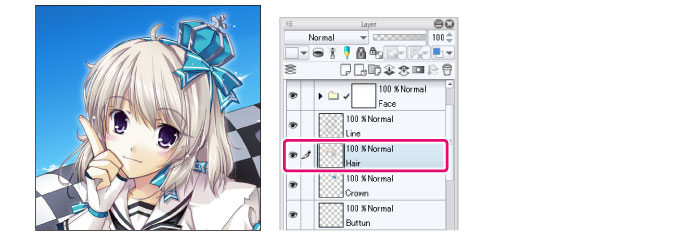
1On the [Layer] palette, select a layer.
|
|
·Some Tonal Correction effects can only be applied on certain types of layers. Please see the “Applicable layers” section for each correction layer type to check which layers can be used. ·If you create a selection area, the color correction will only be applied to the selection area. You cannot change the size of the effect after applying the filter. |
2Select the [Edit] menu > [Tonal Correction] > [Level Correction].
3Adjust the settings in the Tonal Correction dialog box that appears.

(1) Turn on [Preview] and adjust the settings while checking the final result.
(2) Select the channel to adjust brightness.
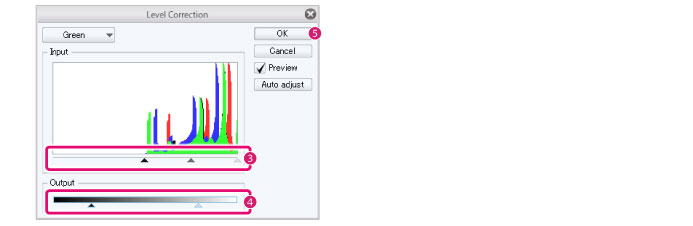
(3) Drag the triangular control point at the base of the histogram to adjust the brightness of the image.
(4) Move the control point beneath [Output] to adjust the intensity of the brightest points and darkest points in the image.
(5) Click [OK].
4The tonal correction effect will be applied to the image.