


Specify cels at regular intervals [Windows/macOS]
The cel display range can be specified along with the cel.
|
|
When using a Tablet/Smartphone, you can specify multiple cels at even intervals from the [Animation] menu. For details, see "Batch specify cels". |
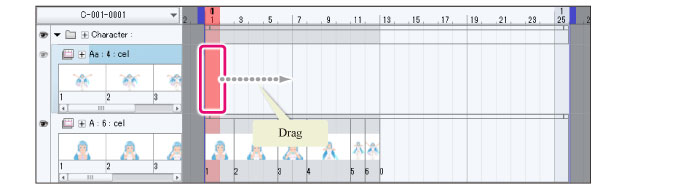
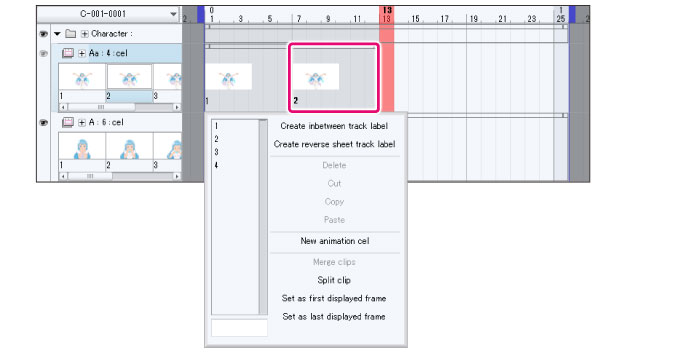
1Select the range
Right-click and drag from the start position to the end position of the range to be displayed for the cel.
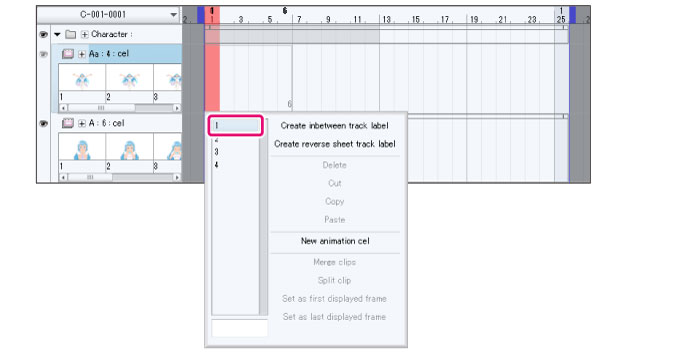
2Specify the cel
Release the mouse button and select the cel name in the displayed popup menu.
|
|
Cels can also be specified by entering the cel name in the input field below the popup menu and pressing Enter. This allows you to enter names for cels that have not been created in an animation folder. The cel can be created later. |
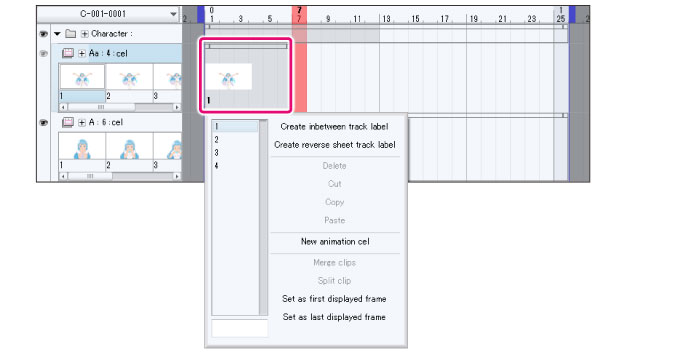
3The cel is specified.
The cel name is displayed on the Timeline palette. A clip is also created in the dragged position at this time.
The popup menu is still displayed.
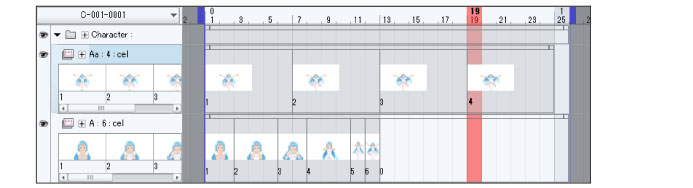
4Specify the next cel
Select the cel name from the popup menu.
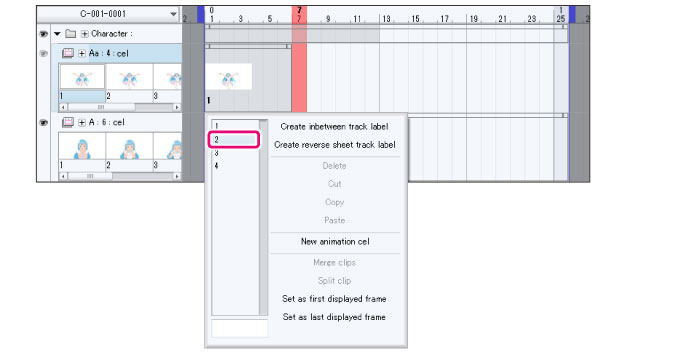
5The cel is specified.
The cel name is displayed in the next frame after the frame where you finished dragging. A clip is added with the number of frames indicated by dragging in step 1. More cels can be specified by repeating the operation in step 5.
6Finish cel specification
Press Esc to hide the popup menu.
|
|
·The cel specifications can be modified later. For details, see “Change the cel specification position”. ·Cels can also be specified at regular intervals in the [Animation] menu. For details, see "Batch specify cels". |