


Special ruler
To create a special ruler, proceed as follows.
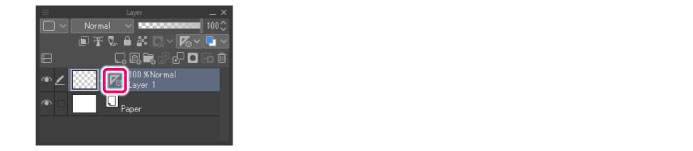
1On the Layer palette, select the layer where to create the ruler.
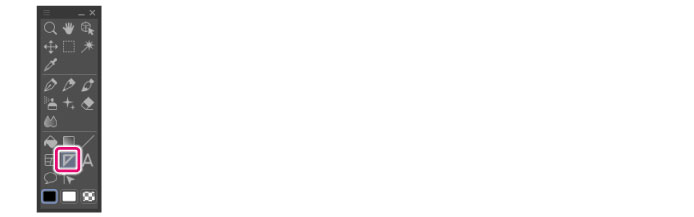
2Select the [Ruler] tool from the Tool palette.
|
|
The initial configuration of the sub tools has been changed from Ver.1.6.2. For those who are used to a previous version of Clip Studio Paint, this operation is now performed by selecting the [Figure] tool and then selecting [Create ruler] on the Sub Tool palette. |
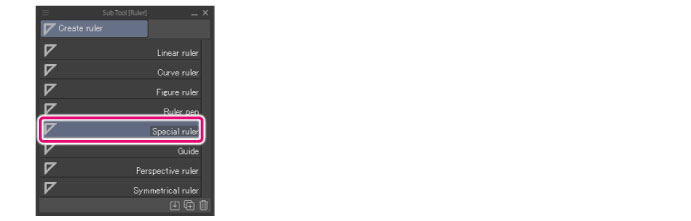
3On the Sub Tool palette, select [Special ruler].
4In the Tool Property palette, select the type of the special ruler.

|
|
You can configure the ruler destination in [Create at editing layer] on the Tool Property palette. ·If [Create at editing layer] is turned on, the ruler is created in the layer being edited. ·If [Create at editing layer] is turned off, a layer is created at the bottom of the Layer palette, and the ruler, created there. However for [Guide], if a layer named "Guide" is present, the ruler is created there. |
5Create the ruler on the canvas.
Creating a ruler displays a ruler icon on the Layer palette.
The procedure to create a ruler varies depending on the shape selected in [Special ruler].
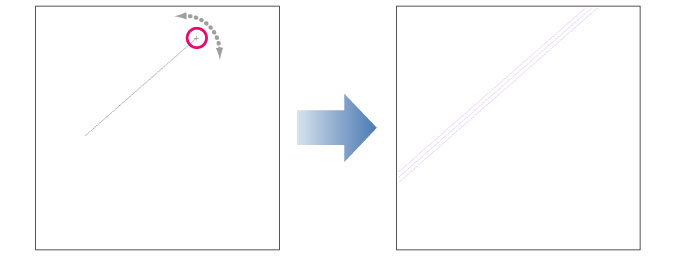
Parallel line
Drag on the canvas and adjust the ruler angle. Releasing the left button of the mouse creates the ruler.
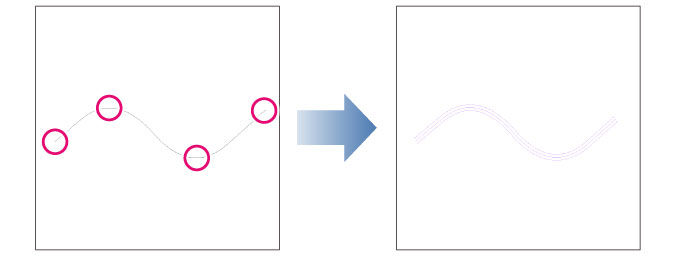
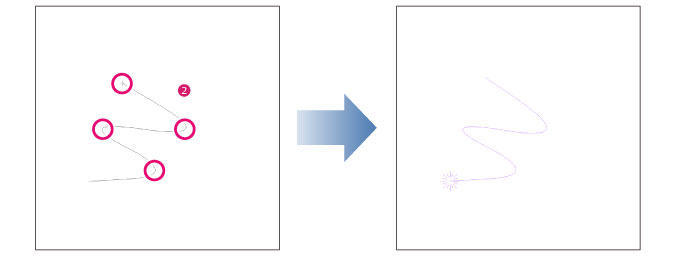
Parallel curve
Specify the points that will be connected by the curve. Double clicking confirms the line and creates the ruler.
|
|
The method for drawing parallel curve rulers is the same as drawing a continuous curve with the [Figure] tool. For details on how to draw parallel curve rulers other than [Spline], see "Drawing Continuous curves & Bezier curves". |
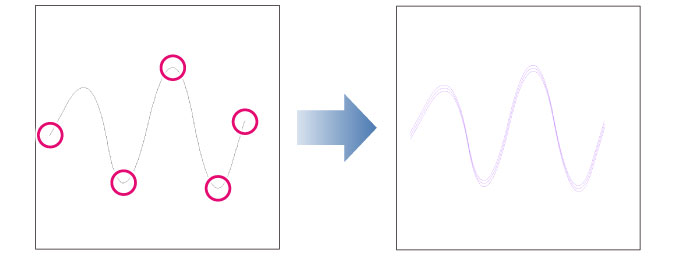
Multiple curve
Specify the points that will be connected by the curve. Double clicking confirms the line and creates the ruler.
|
|
·The method for drawing multiple curve rulers is the same as drawing a continuous curve with the [Figure] tool. For details on how to draw with multiple curve rulers other than [Spline], see "Drawing Continuous curves & Bezier curves". ·Selecting a ruler with the [Object] sub tool displays the rotation handle. Drag the rotation handle to set how the lines will follow the shape of the ruler. For details on how to configure, see "Multiple curve ruler". |
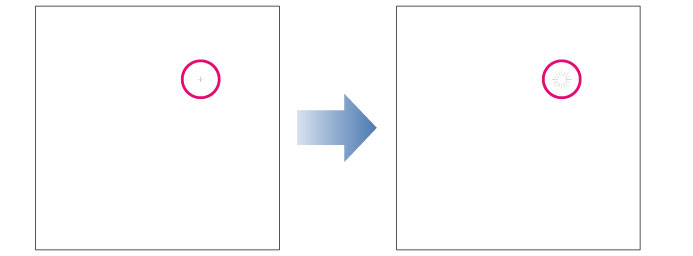
Radial line
Clicking on the canvas creates the ruler. The clicked position will be the center of rotation.
Radial curve
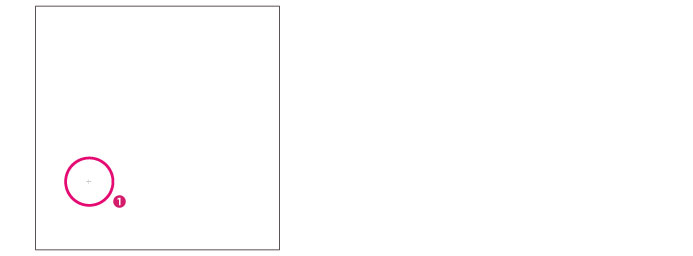
(1) Click the point to locate the center of the ruler.
(2) Specify multiple points and draw a curved line connecting those points. Double clicking commits the drawn line and creates the ruler.
|
|
The drawing method for [Radial curve ruler] is the same as that for [Continuous curve] of the [Figure] tool. For details on how to draw with [Radial curve rulers] other than [Spline], see "Drawing Continuous curves & Bezier curves". |
Concentric circle
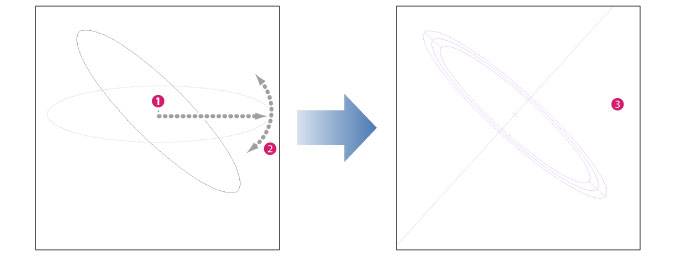
(1) From the desired center of the ruler, drag diagonally while pressing the mouse button. Release the mouse button at the end point.
(2) Dragging the canvas rotates the shape, allowing you to adjust its angle.
(3) Clicking the canvas commits the drawn line and creates the ruler.
Guide
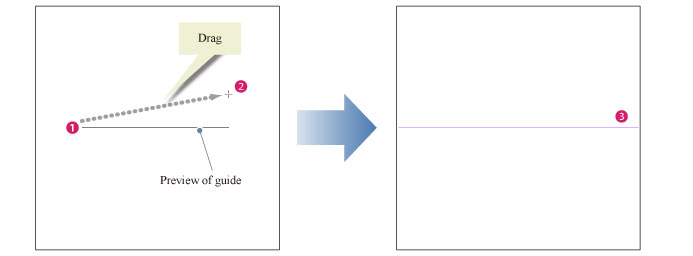
(1) Drag from the point to create a guide. Drag in the horizontal direction to create a horizontal guide, and in the vertical direction to create a vertical guide.
(2) Release the mouse button when a preview displays in the desired guide direction.
(3) A horizontal or vertical guide is created.