


Set the finger position
Specify the finger position of the 3D character and set the finger bones.
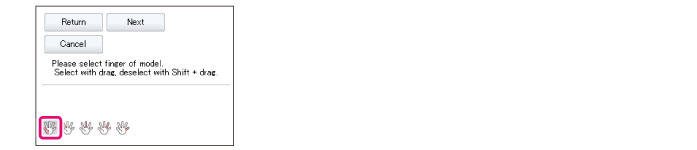
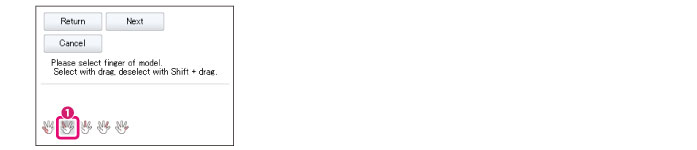
1Select a finger
Select the finger to be specified in the [Navigation area]. In this example, [Thumb] is selected.
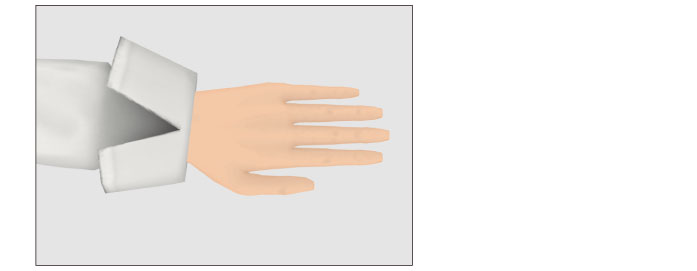
2Change the camera position
Operate the camera in the [Preview area] to zoom in on the finger.
For information on how to operate the camera, see "Setting Camera Angles" .
|
|
When zooming in on the hand, zoom in with the fingers open and parallel, as this makes it easy to specify finger positions. |
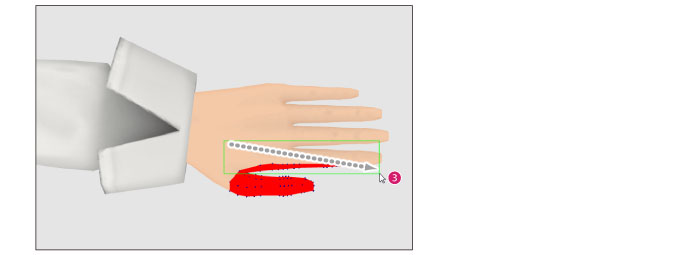
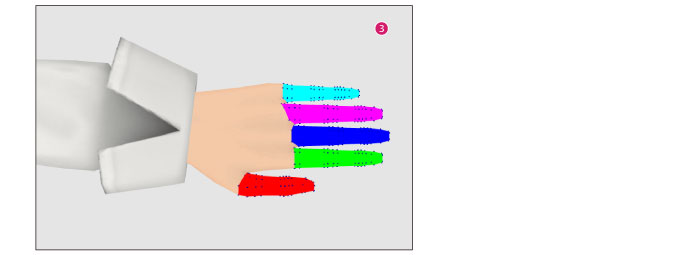
3Specify the finger position
Drag to specify the finger position.
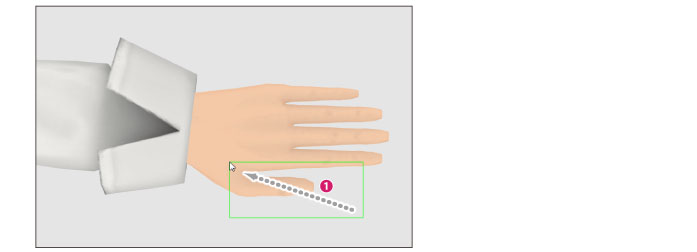
(1) Drag to surround the thumb of the 3D character in the [Preview area].
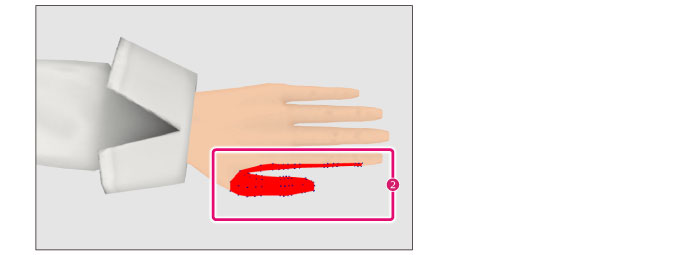
(2) The specified area for the finger is colored. In the case of the thumb, the area turns red. If part of the thumb is not specified, drag again to surround the whole thumb.
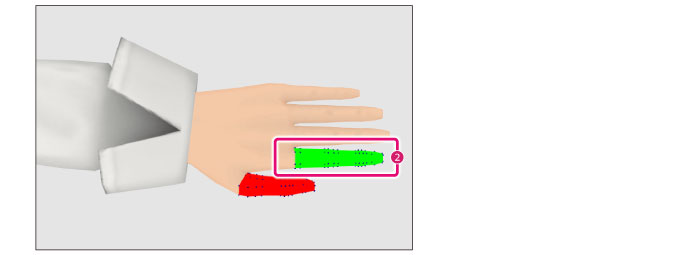
(3) If the area is too large, hold down the [Shift] key and drag to surround the area you want to remove.
(4) The dragged area is removed from the specified area.
|
|
·If it is difficult to specify the finger while the hand is lying flat, adjust the camera angle to a position where it is easier to specify the finger. ·When a finger position is set for one hand, the position is set for the other hand too. |
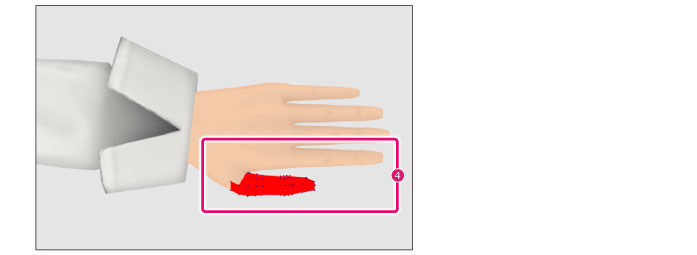
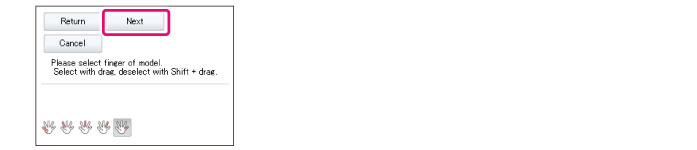
4Specify the next finger.
Repeat the operations in steps 2 and 3 for all of the fingers.
(1) Select the next finger to be specified in the [Navigation area]. In this example, [Index finger] is selected.
(2) Repeat the operations in step 3 to specify the position of the finger.
(3) Repeat the operations in steps 1 and 2 to specify the positions of all of the fingers.
|
|
To correct a finger specification, select the button for the finger you want to correct in the [Navigation area]. Set the selected finger again. |
5Check the settings
Change the camera angle and check the finger settings from various angles.
If any corrections are needed, specify the positions again in the [Preview area].
6Exit the finger position settings mode
Click [Next] in the [Navigation area].
A screen for checking the bones is displayed. Next, proceed to "Check the bones" .