


Setting 3D Character Information
Set various information on 3D characters to be displayed in the [Material] palette and the settings screen of CLIP STUDIO PAINT.
Setting 3D Character Information
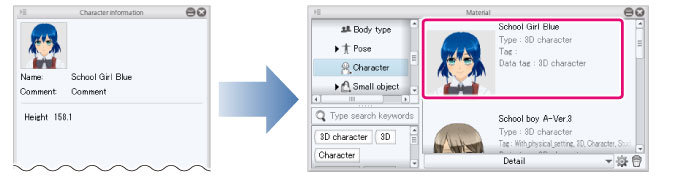
Set 3D character information. You can set a material name and thumbnail to be displayed when the 3D character is registered in the [Material] palette.
The thumbnail and material name set here are also displayed in CLIP STUDIO when the 3D character is published in CLIP STUDIO ASSETS.
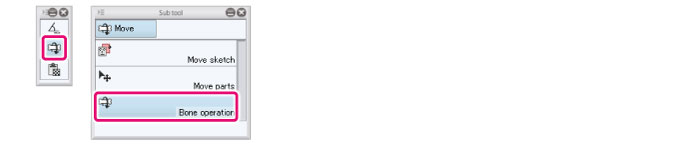
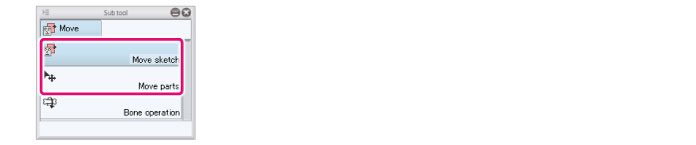
1Select the tool
Select the [Move] tool from the [Tool] palette and select [Bone operation] from the [Sub Tool] palette.
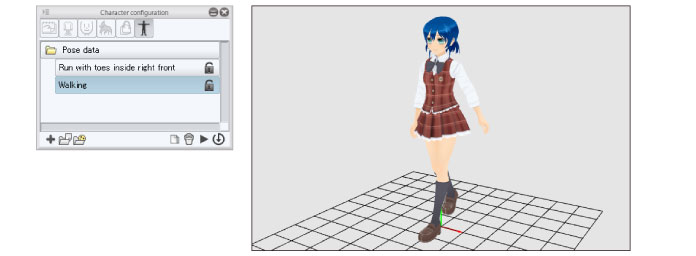
2Pose the 3D character
Create a pose for the thumbnail by using the operations in the [Document] window and [Character configuration] palette.
|
|
For information on creating poses, see "Creating a Pose" . |
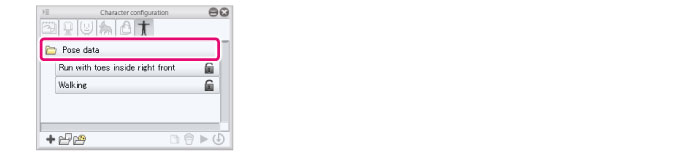
3Setting 3D Character Information
Select the [Pose folder] on the [Character configuration] palette.
4Set the thumbnail
Add the thumbnail for the 3D character in the [Character information] palette.

(1) Click [Thumbnail].
(2) Capture a thumbnail in the [Capture thumbnail] window. For information on operations in the [Capture thumbnail] window, see →"Capturing a Thumbnail" .
(3) The captured thumbnail is applied.
5Set the name of the 3D character
Input information on the 3D character in the [Character information] palette.
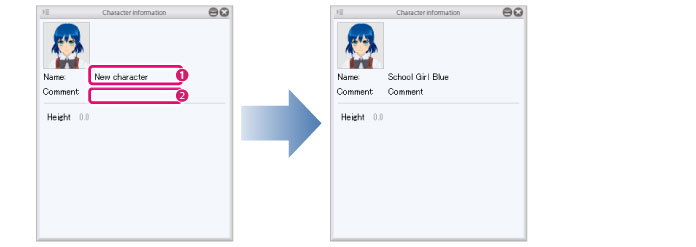
(1) Double click the character name displayed in [Name]. When an input field is displayed, input the new name.
(2) Double click the area to the right of [Comment]. When an input field is displayed, input a comment.
|
|
Comments are not displayed in CLIP STUDIO and CLIP STUDIO PAINT. |
6Set the height of the 3D character
Set the height of the 3D character.
(1) Select a sub tool other than [Bone operation] on the [Sub Tool] palette.

(2) Double click [Height] in the [3D Character information] palette and input the height of the character.